

It's Showtime! Spring Gardening 2025
And I've got a hot tip for you so keep reading...

Last year I started using a technique for my raised beds that has been so effective for multiple reasons that I just have to share it here.
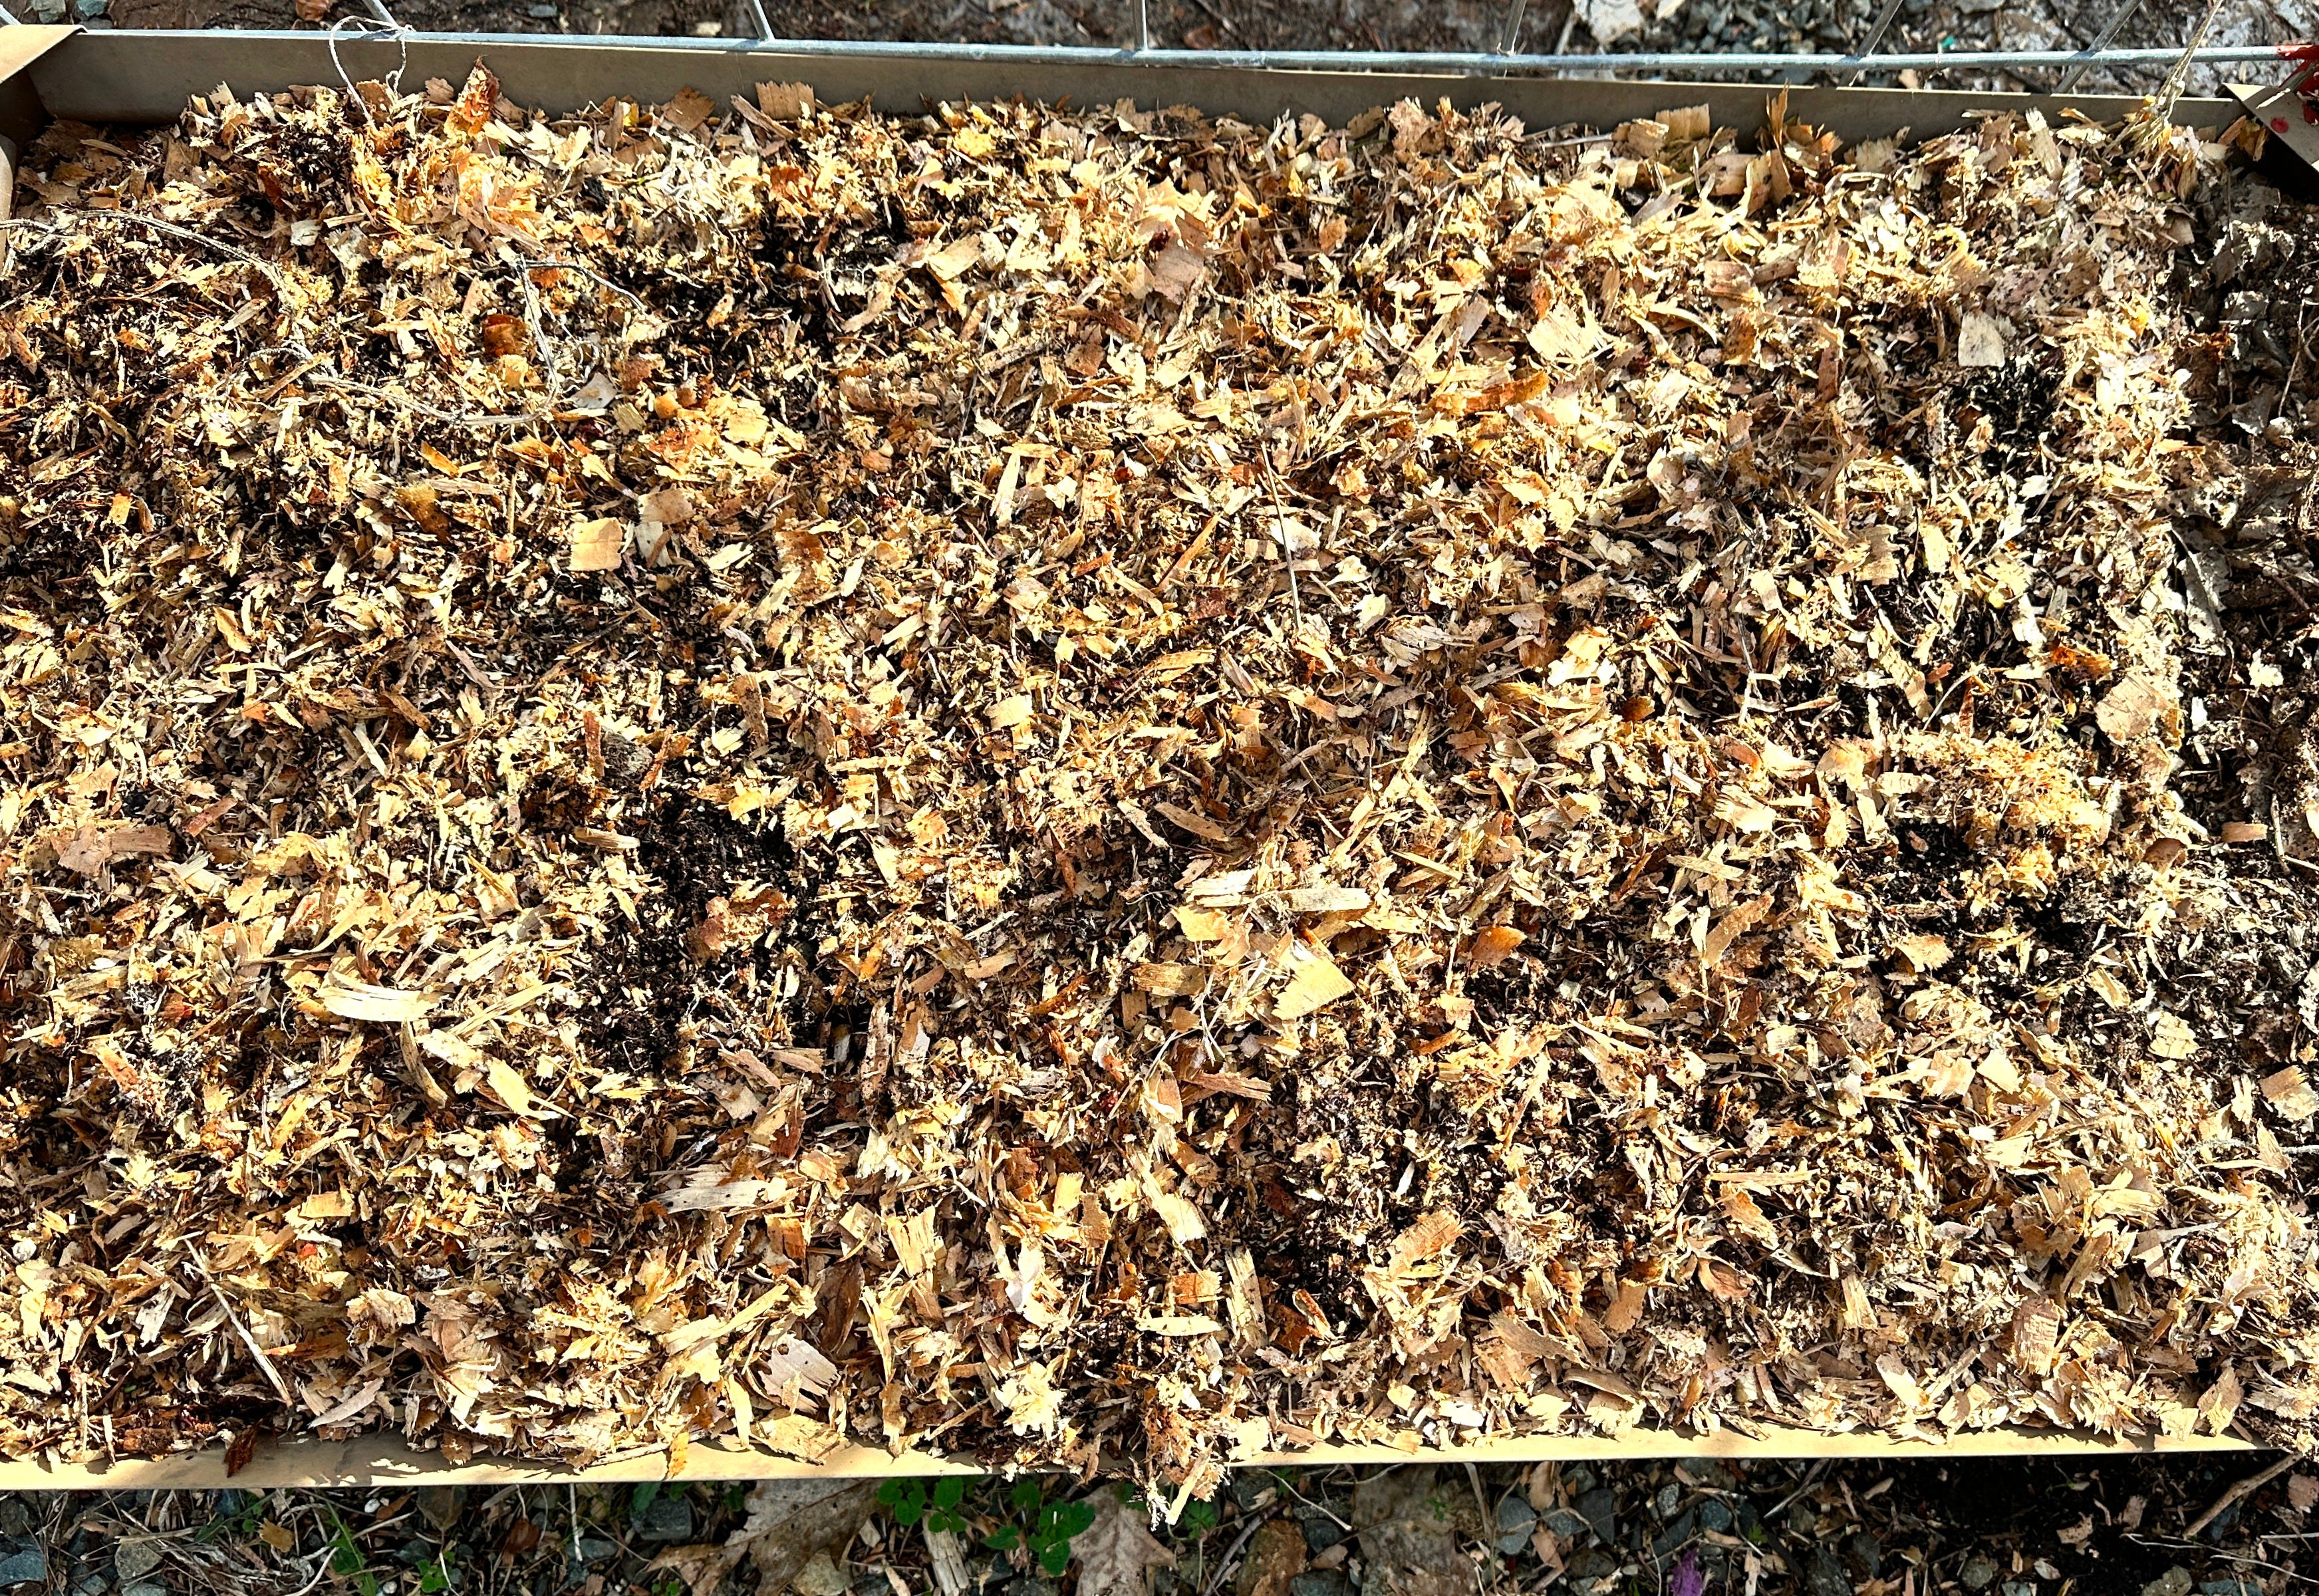
Pine shavings or fir and pine shavings used for horse bedding.
Now, just a caveat, I’m using this product and the technique I will describe here in Zone 8b / 9a, depending on the microclimate you are in this area. My garden beds are filled with red wigglers (compost worms) and red wigglers don’t survive the colder winters. But, you can try this technique in any of your raised beds, maybe keeping the beds covered will be enough to keep them alive if you are in one of the cold zones. I suspect this technique will work up to zone 7 or maybe zone 6 depending on how well you keep your beds covered in the winter.
But even if you are in a cold zone or don’t want to use red wigglers in your beds this technique still works for conserving water in the summer, keeping the roots cool in the summer, and preventing weed growth in all seasons.
The pine shavings pine/fir shavings for horse bedding comes in these big compressed bales and compared to mulch or even bales of hay or straw (which always have a bunch of weed seeds in my experience) it’s a very economical and clean product for use in the garden. I paid $11 for a huge 3 cubic foot compressed bale last year and used it in 8 garden beds and still have fresh shavings left over from last year.
So before I get into the details on using this product let’s talk about the worms because it’s the worms that create the nutrition in the soil and till the soil naturally.
Even if you are in a cold zone 6 - 3, you can still use red wiggler worms in your garden beds throughout the growing season before the winter kills them off. Now, I’ve tried to run worm composting barrels and while that does work, it’s actually much easier for me just to have the worms living in my beds and doing all of the composting there. And as long as I keep this layer of shavings on top of the bed the red wigglers always have something to compost.
Worm casings are the gold standard in gardening, and with this layer of shavings kept on top of my beds all season long the worms always have something to compost. And let me show you the absolutely stunning results of leaving my beds covered with this all winter long:
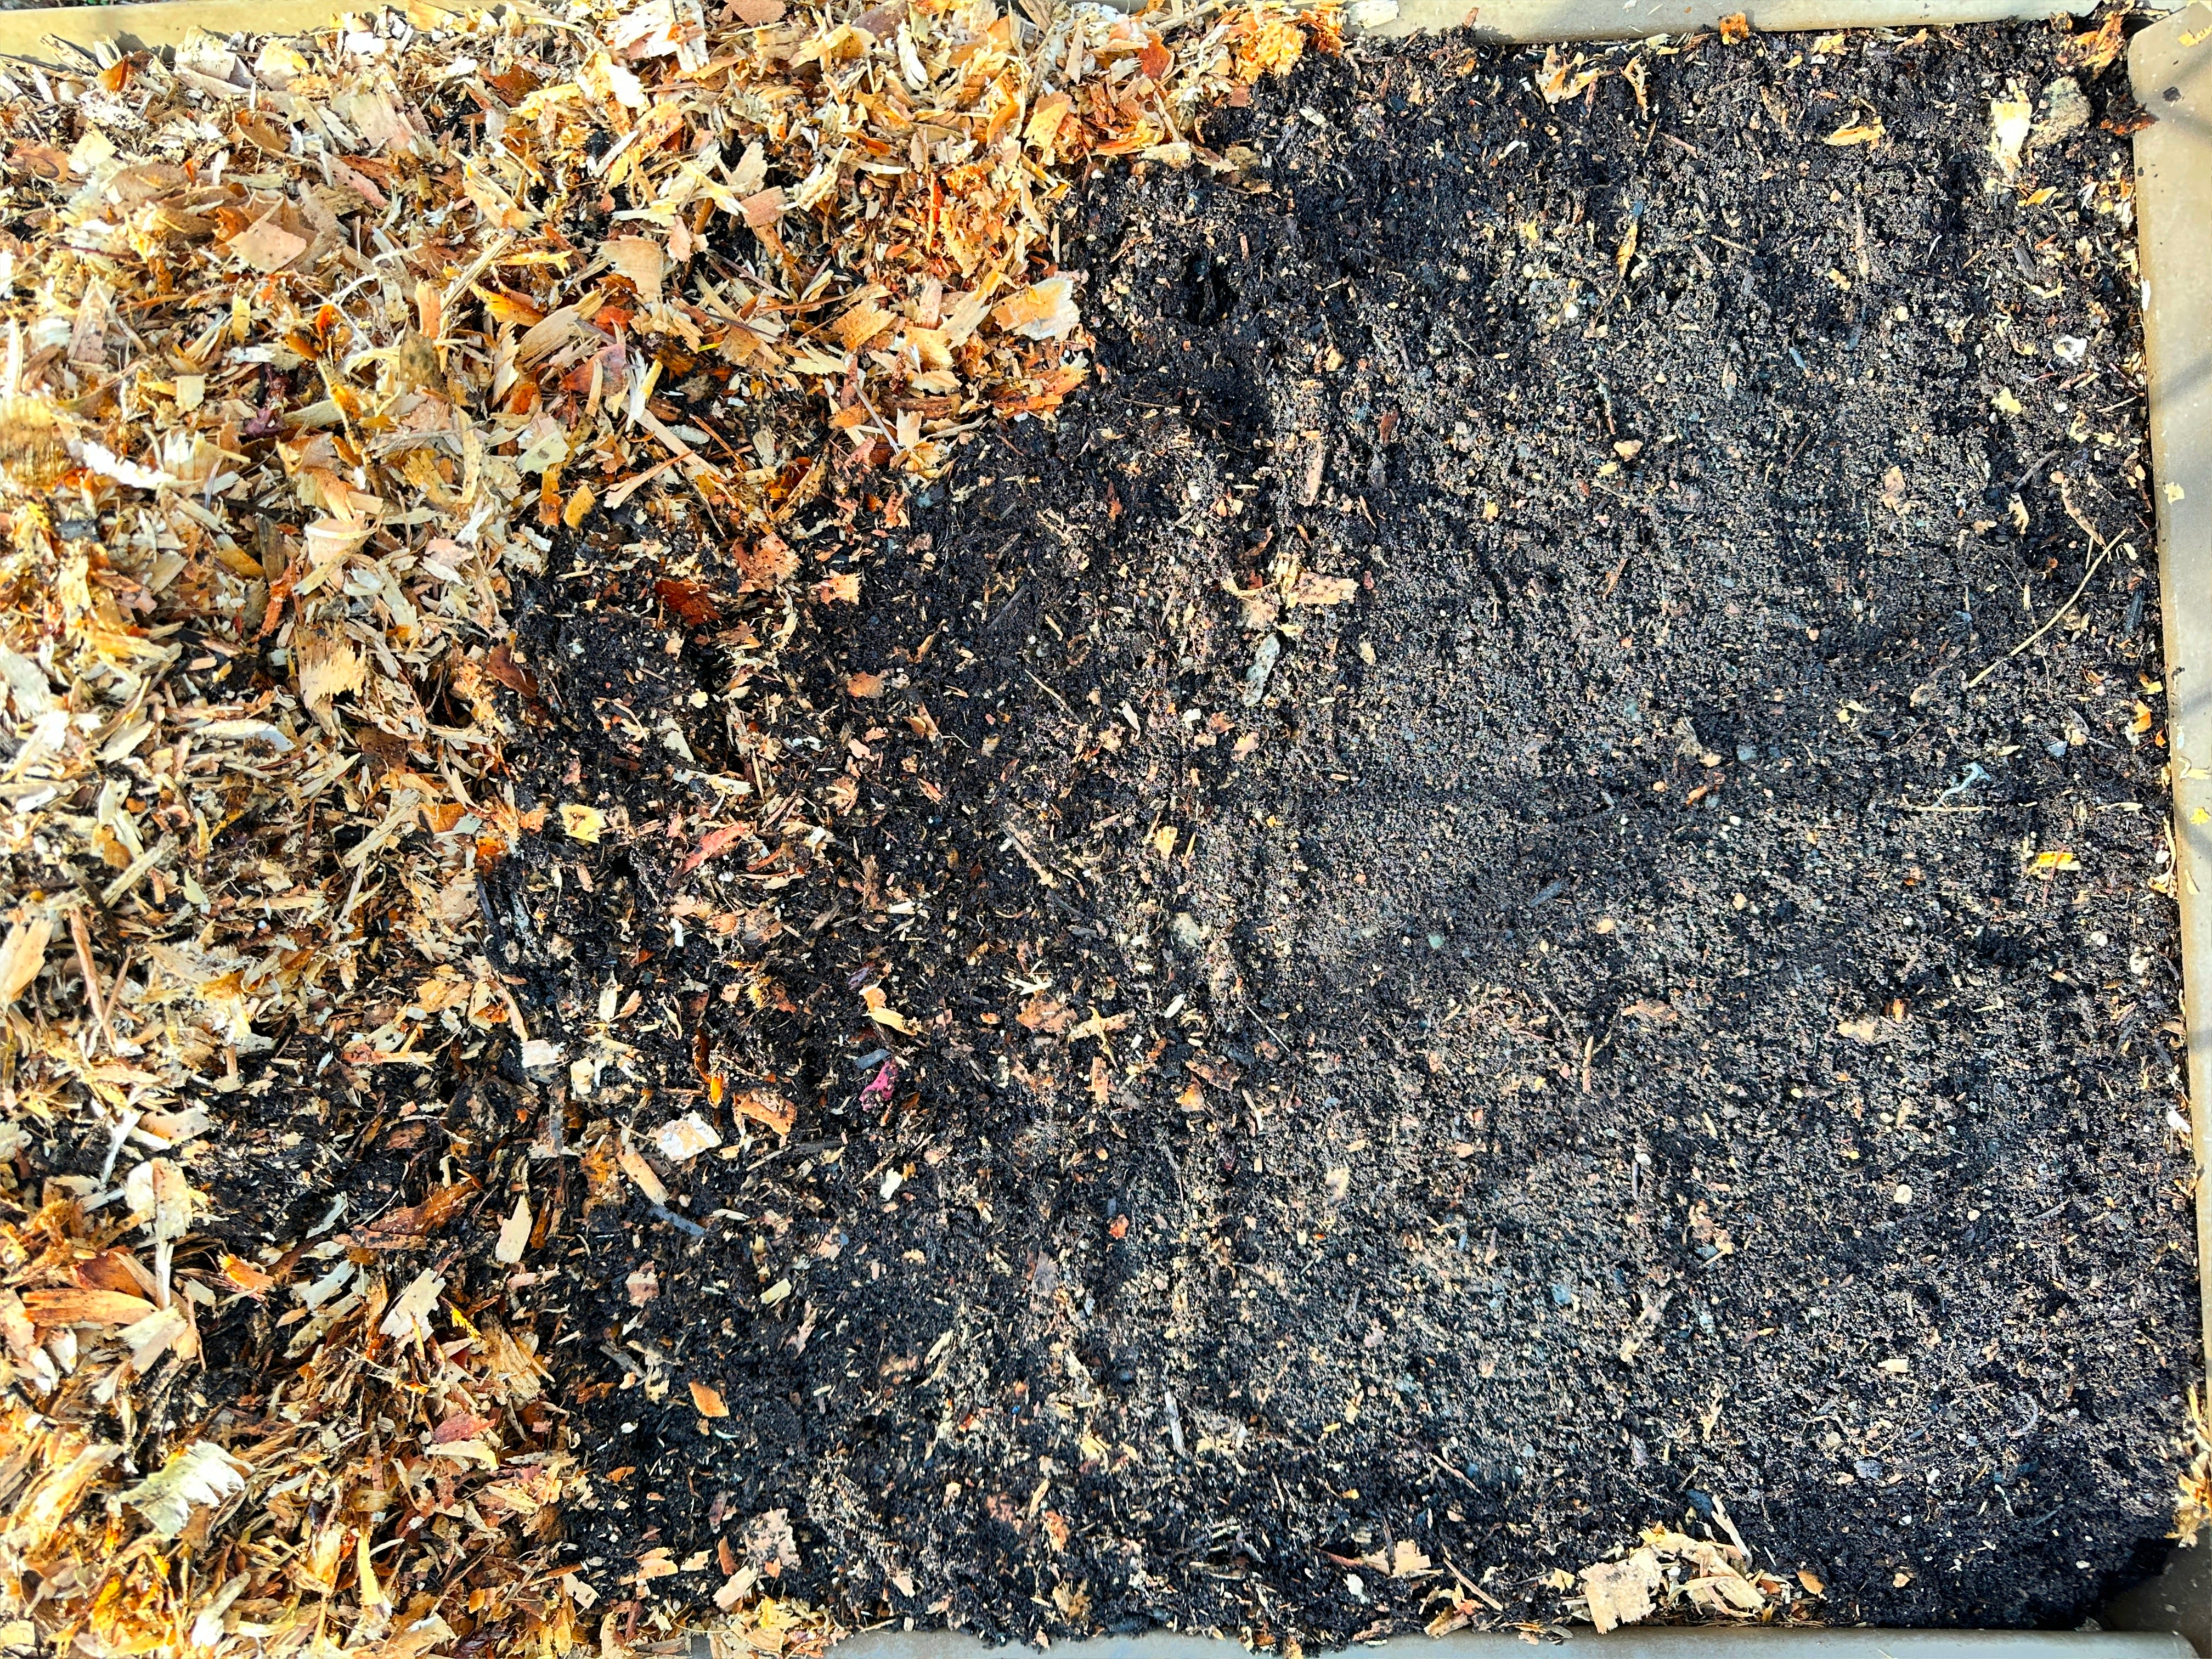
That, my friends, is black gold otherwise known as worm casings. A layer of black gold produced by the composting worms from the decomposing pine and fir shavings. This is a highly nutritious food for plants.
But that’s not all!
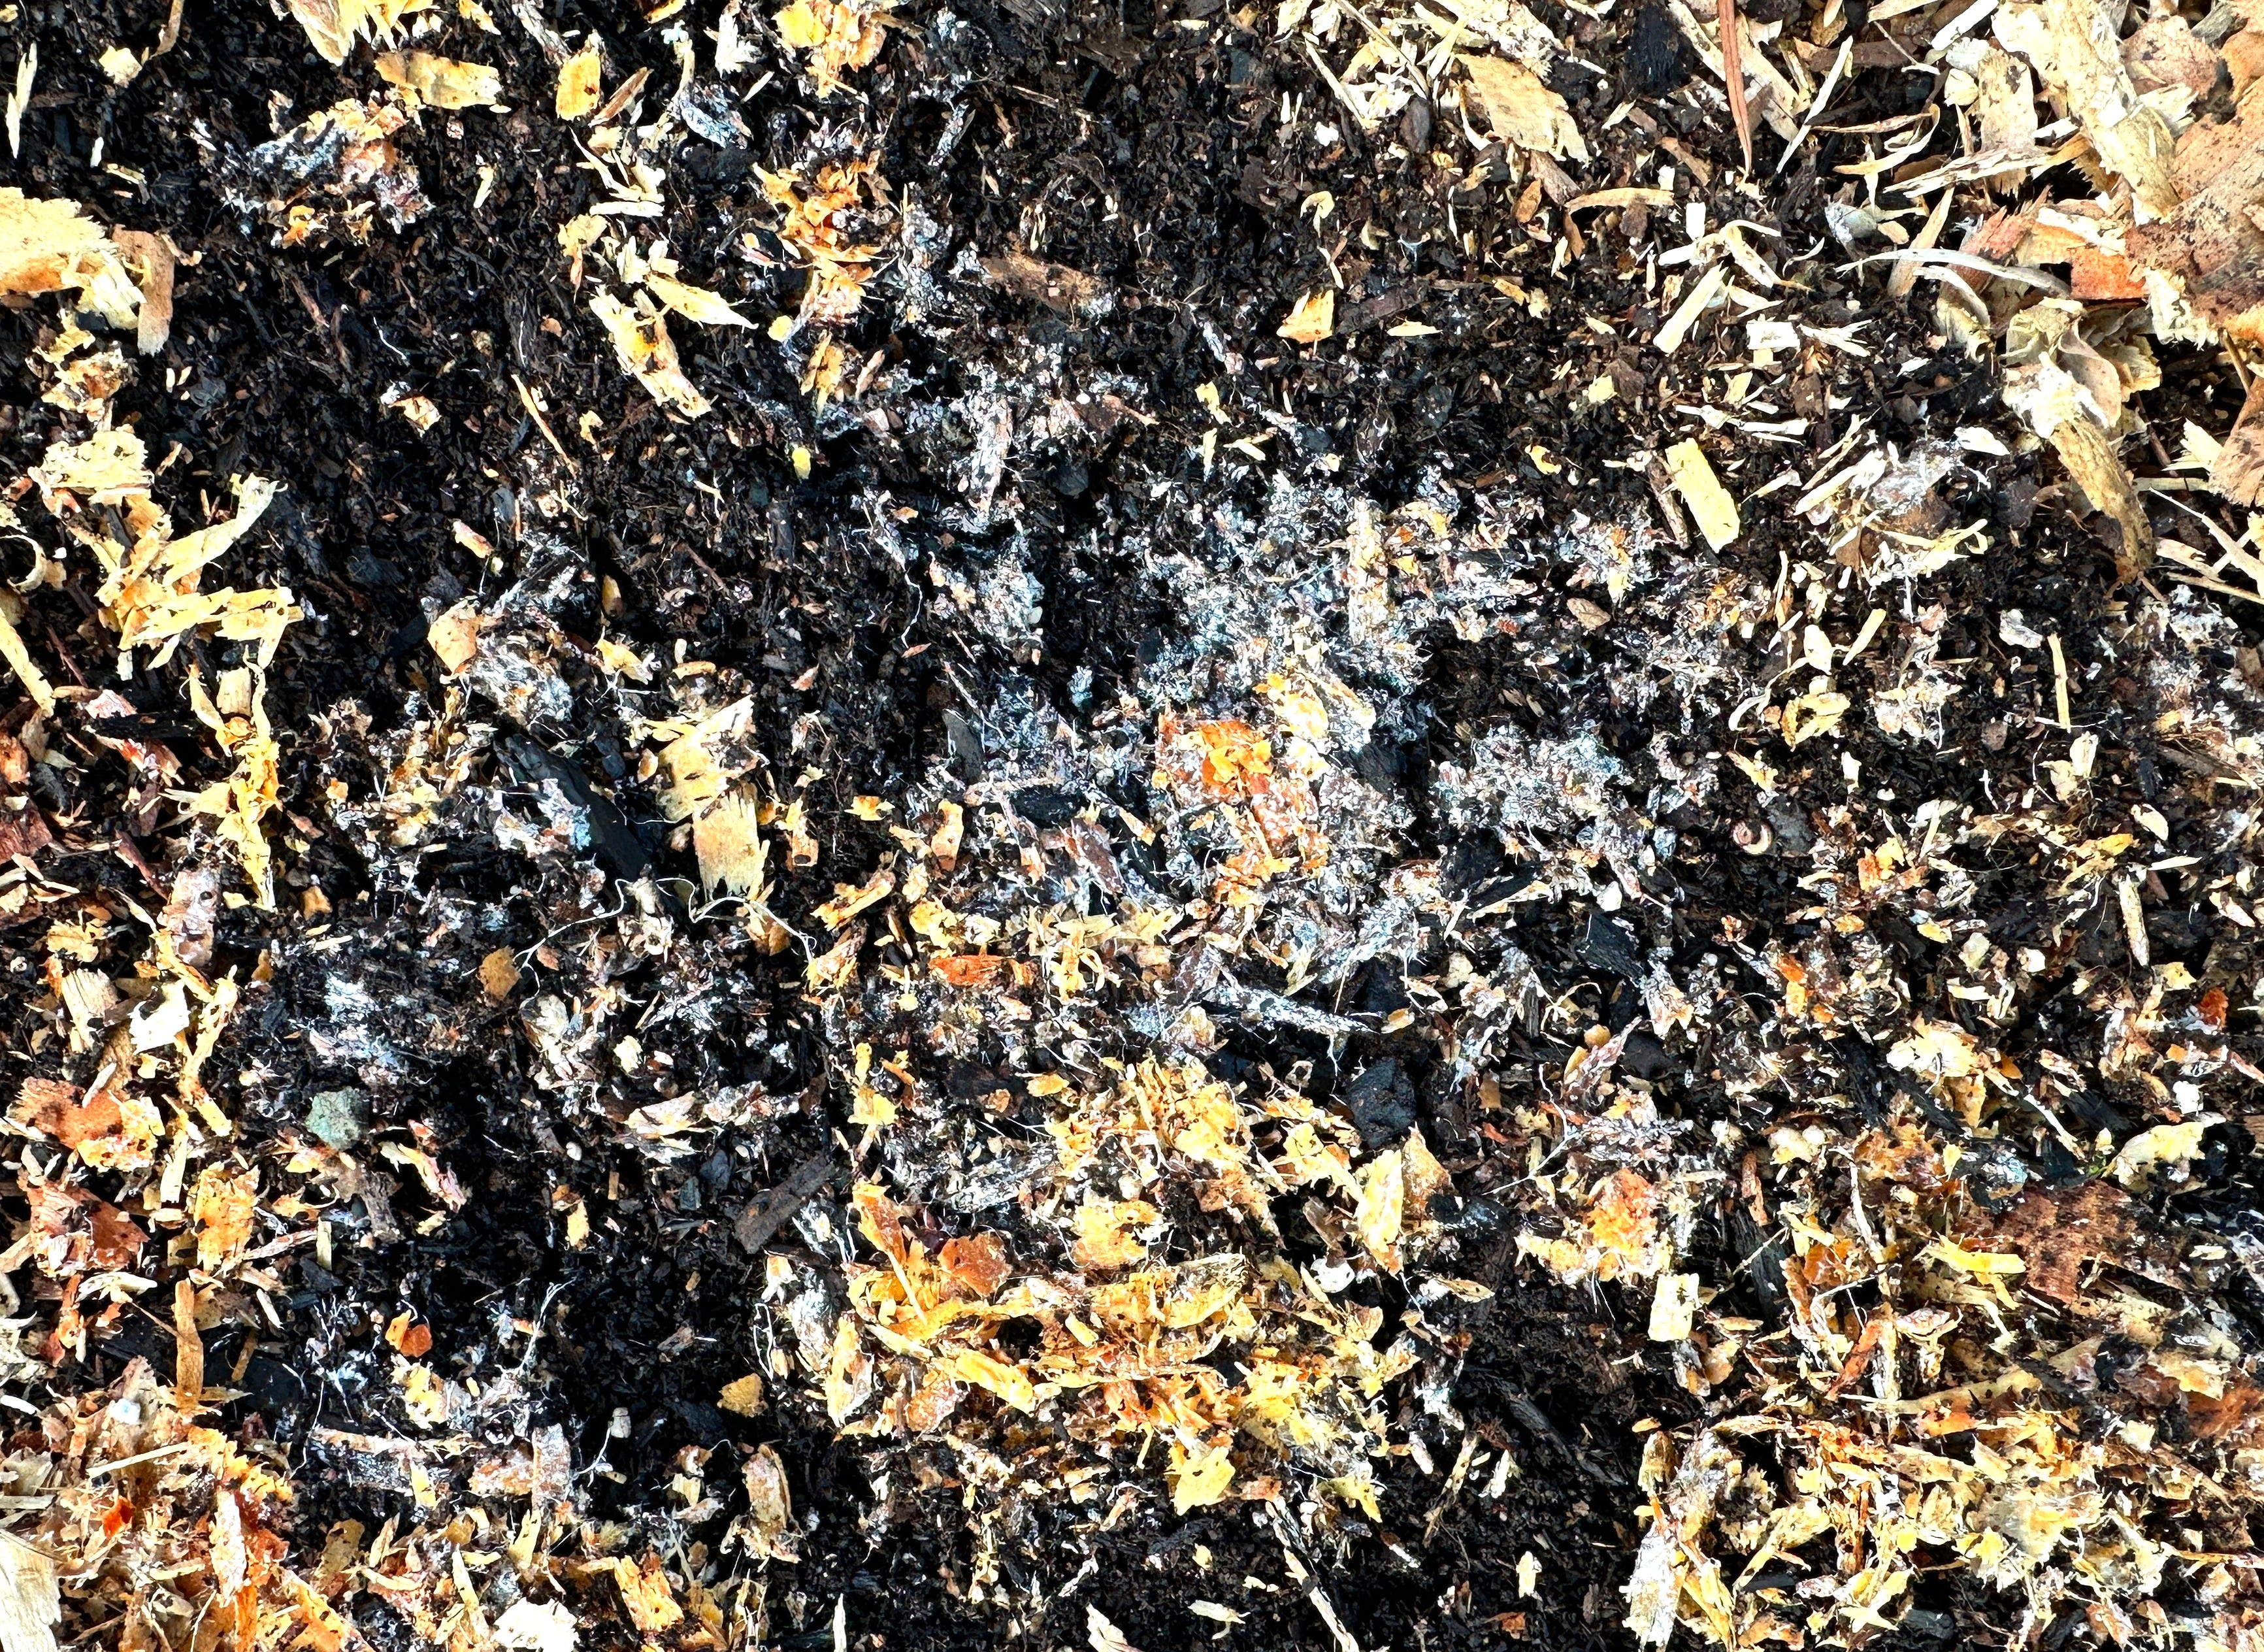
When the shavings are brushed away to reveal the lovely black gold underneath, something else has appeared as well: a vast network of fungal mycelium. This is white gold! The fungal mycelium also creates it’s own nutrients for plant roots that live in harmony with the mycelium during the growing season. Black gold + white gold = healthy soil. And healthy soil is what you need to grow a lush garden.
Focus on feeding the soil instead of feeding the plants and you will have the garden of your dreams. The soil is the living organism that takes care of the plants and feeds them.
The only thing you need to do with the shavings in the spring is brush them off to reveal the prizes underneath. You can put the old shavings in your compost bin and let them compost further, (which is what I do because over the growing season they tend to collect weed seeds distributed by the air) and replace them with fresh shavings after your plants are at least 2 inches tall.
After I remove the shavings I then top the beds with a fresh layer of compost from the compost bin and that will be what I plant my seeds in. You will want to remove the majority of the shavings, but it’s okay to leave a little if it’s stuck to the mycelium like it is here. You don’t want to mix up too much of the shavings into your soil because it will tie up the nitrogen until it breaks down and that may result in slow plant growth. Once my seeds come up or I plant starters I will then put down a fresh layer of the shavings.
Here is one more caveat about this: These shavings tend to make the soil more acidic. You can remedy that with natural wood ash or a bag of commercially produced potash. I have used both and when I don’t have wood ash to spread a cheap bag of commercial potash works just fine to bring the soil back to a less acidic PH or to make the soil more alkaline for plants that like that, such as beets.
The combination of using these shavings, red wigglers, plus homemade compost, and two small cheap bags of potash and phosphorus for the entire growing season has cut my fertilizer bill into pennies. Feeding the soil is certainly a lot cheaper than feeding the plants!
Stay tuned for my next fertilizer tip that I haven’t included here. It’s a doozy and deserves its own article. Happy gardening 2025!